


The differential is a vital part of every vehicle and it's easy to forget to replace the differential oil. This is how you do it.
Our editors and experts handpick every product we feature. We may earn a commission from your purchases.Learn more.
Introduction
The differential is a vital part of every vehicle and it's easy to forget to replace the differential oil. This is how you do it.
Differentials are part of a vehicle’s drive train. They use internal gears to alter the direction of the driveshaft rotation and to gear down the drive train. All differentials contain oil that needs to be changed every 30,000 to 60,000 miles. With a service interval that long, it’s easy to forget, but that can lead to damage.
“Differential flushing protects your gear system from damage and overheating, just like engine oil protects engine components,” says Alan Gelfand, owner of German Car Depot.
Having a differential flush done professionally will cost between $150 and $400. Materials to do the job yourself, as shown in the following steps, cost less than $50 and the process will take about an hour.
Here’s how to do the job yourself and extend the life of your vehicle.
Tools Required
- Cleaning brush
- Drain pan
- Jack & jack stands (optional)
- Wrench to remove drain plug bolt or cover bolts
Materials Required
- Differential cover gasket or gasket maker caulking
- Differential oil (typically 80W90 grade; check your manual)
Project step-by-step (7)
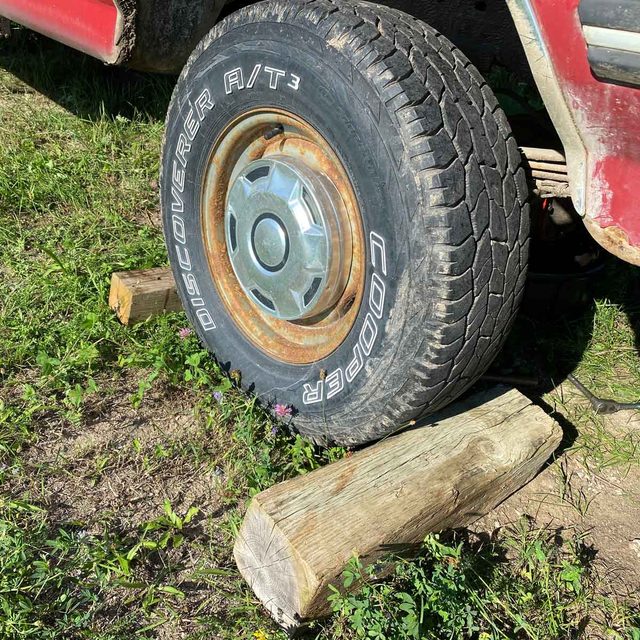
Raise the vehicle or block the wheel
This step is only necessary when the vehicle’s ground clearance is insufficient.
- Park the vehicle on a flat, level, hard surface.
- Jack up the vehicle.
- Place jack stands under the vehicle as needed to raise it enough to work underneath.
- Block the wheels and remove the keys if you’re working without jacking and jack stands.
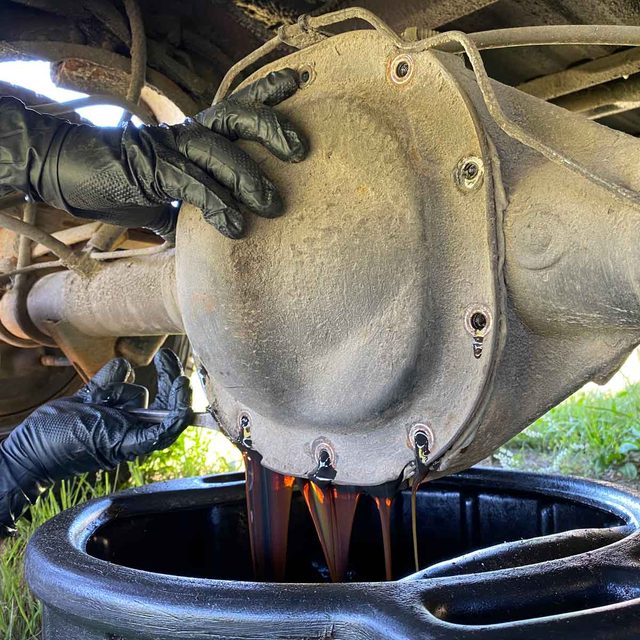
Drain the differential
- Brush off the differential housing to remove dust and road dirt.
- Place a drain pan under the differential to catch old oil.
- Allow the differential to drain for 30 minutes in warm weather or 2 hours if the temperature is below 50 degrees Fahrenheit.
- Take the waste oil to an auto garage or a toxic waste facility for safe disposal. The garage where I take my waste oil uses it to heat the shop in winter, using a special waste oil furnace. Always ensure that you properly dispose of the old oil, as it’s considered a toxic pollutant. “It contaminates both soil and water,” says Gelfand. “The safe disposal of waste at recycling centers requires only a minimal effort that produces substantial environmental benefits.”
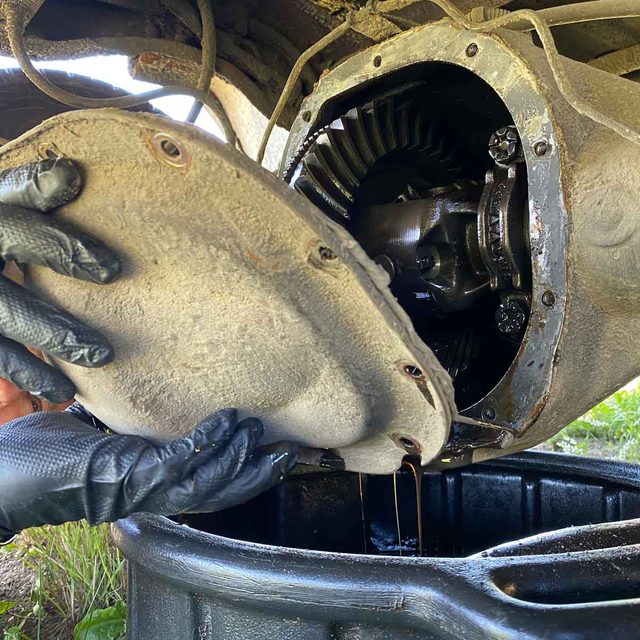
- Remove the drain plug or differential cover bolts and cover.
- This step can vary a lot depending on your vehicle design. Some differentials have drain plugs that allow old oil to flow out of a single hole, while other designs require multiple bolts be removed and a cover taken off to let out the oil. The vehicle shown here has a cover-type differential. Refer to the online manual or a maintenance manual for details specific to your vehicle.
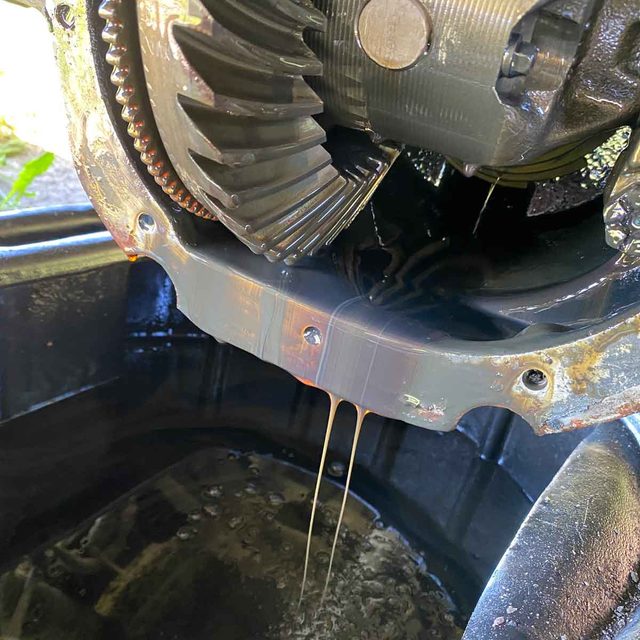
Examine the differential
- Remove any sludge or debris you might find in the bottom of the differential case. If you change oil often enough, there will be no sludge buildup.
- Assume your differential has sludge if you can’t see inside it and prepare to complete the “Flush the Differential” step.
- Skip the flushing step and go on to the last step here if you can see that your differential has no sludge buildup.
- On vehicle designs with removable covers you’ll be able to clearly see the gears and bearings that make up the heart of the differential. Chances are that the mechanism will be clean, but look closely, just the same.
Clean and replace the sealing cover
This step is necessary only with vehicles that have a removable differential cover.
- Remove any old gasket material from the cover and differential body.
- Obtain a new gasket or tube of gasket-making compound.
- Apply the gasket or gasket compound and replace the cover.
- Tighten the bolts sequentially around the perimeter of the differential. Tighten bolts no more than 1/4-turn past the point of head contact before moving on to the next bolt in line.
- Continue the sequential tightening process until all bolts are snug.

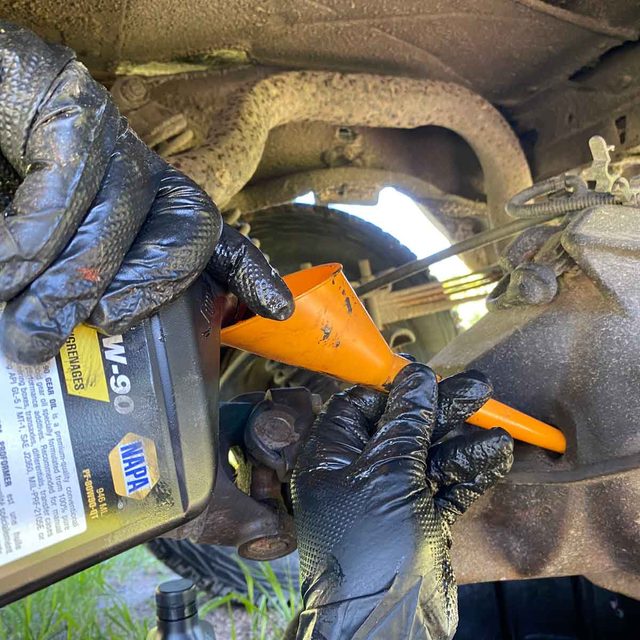
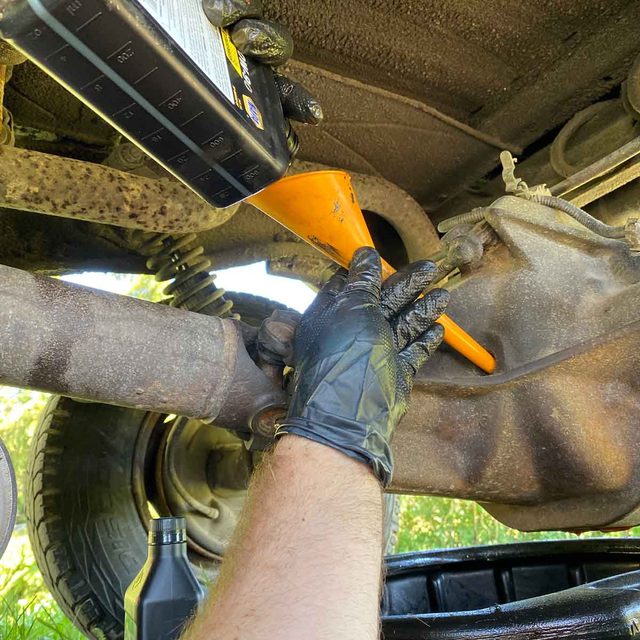
Fill the differential with correct gear oil
- Refer to a maintenance schedule to determine the type of differential oil your vehicle needs. Most fall in a weight range between 75 to 140. “Using incorrect gear oil results in poor lubrication and increased friction which eventually causes differential failure,” says Gelfand. “Your vehicle manufacturer specifies the exact gear oil type and viscosity that you should use because this small detail produces major consequences.”
- Replace the differential cover or drain plug.
- Fill the differential with the correct gear oil to the correct level.
Flush the differential
- Drive 15 to 20 miles to loosen any internal sludge and dirt.
- Return the vehicle to your work area.
- Raise the vehicle on jack stands, if necessary.
- Drain the differential oil again.
Refill the differential
- Replace the drain plug or differential cover with the appropriate gasket or gasket compound for final re-assembly.
- Fill the differential with the recommended gear oil until the level is up to the fill hole.
- Replace the fill hole plug.
- Return the vehicle to ground level if you’ve jacked it up for the work.
FAQ
What are the signs that my differential fluid needs changing?
The protective qualities of any oil degrade over time. When that happens, “The rear of your car may produce burning smells while you hear whining noises and feel vibrations during turns, which indicate dirty or low differential fluid,” says Gelfand.
How often should I perform a differential flush?
It depends on your vehicle manufacturer’s recommendations, which generally fall between 30,000 and 60,000 miles. But you should change it more often if you do a lot of towing or off-road activities. “You can change the oil based on miles driven or the color of it,” says Chris “Moos” Pyle, a master-certified technician with JustAnswer. “If you wait till noises are heard, it is too late. Damage is done, and new fluid will not fix that.”
About the Experts
- Alan Gelfand has owned German Car Depot for more than 30 years. His business is an independent automotive service center in Hollywood, Florida, specializing in the service and repair of German vehicles.
- Chris “Moose” Pyle is a master-certified technician with 20-plus years of automotive experience. He has also worked as an expert for JustAnswer, the expert-on-demand platform since 2006.